Showing posts with label Games Mechanic. Show all posts

Wednesday, April 15, 2015

Cinematic Animation

https://gfycat.com/EnchantingFlawedIcelandicsheepdog - link to the gif.

Here is the animation i did for the last part of the game. Boy walks up the stairs, looks at sword, listening to the voice of the demon. I've made all of it myself, and was a lot of fun. First I began with getting the reference of the stairs. Then I animated the hips together with the steps. At first the movement didnt look too natural. So I added some weight behind the steps with some saddle hand and finger movement (Second screenshot).  At the end the boy approaches the altar, slowly to express cautiousness.

I had to clean up some steps as they looked too rushed, too low or like he was sliding. I think It turned out pretty well, however I could clean up the animation bit more, especially the feet sliding in some parts. Also maybe I could extend it further, so the boy picks up the sword.


Boy Animations


Here are some screenshots of the animations i did for the boy.  It was a lot of fun to do, even tho it was my first time animating a character. We were told we could use premade animations, however I didn't wanted to do that, I wanted to learn and make stuff on my own.


 First I began with the Idle animation. I've put him into a relaxed, standing position for start, and went from there. Slight breathing movements by rotating the chest forward and backwards a bit. Then the boy looks around, going back to his loop position. To improve on that I could make it a bit longer. although I like how he behaves, it is too repetitive when it's looping inside the engine. I could just add a bit more frames so he just stands there breathing.


Here is the first jump animation I did. At first it had some hand wave motion, backwards and forward, However I changed it as it looked weird inside the engine. First he gathers strength, then pushes off the ground, to land gaining balance. We haven't used this one, however we used the mid air frames as a falling state. To improve on this animation I think it should be more dynamic when he pushes off the ground.


Here is a take two on the jumping. This one had the same, basic idea; push off the ground, jump, gain balance. However as you can see on the second screenshot it shows more control and stability from the boy as he is in the air. We ended up using this one.  To improve it I could make it more dynamic while he is in the air.


Here is the running animation. Not much talk about in here, I tried to get a good loop, however I didn't manage to get it perfectly smooth. I'm happy with the results though. However I could hide the loop a bit better, and make it look more natural.


I think this is my favorite one. Just a basic walk animation, but this one feels most natural of them all. We ended up not using it at all because of the lack of time. Same as the running animation I could improve it by hiding the loop better.


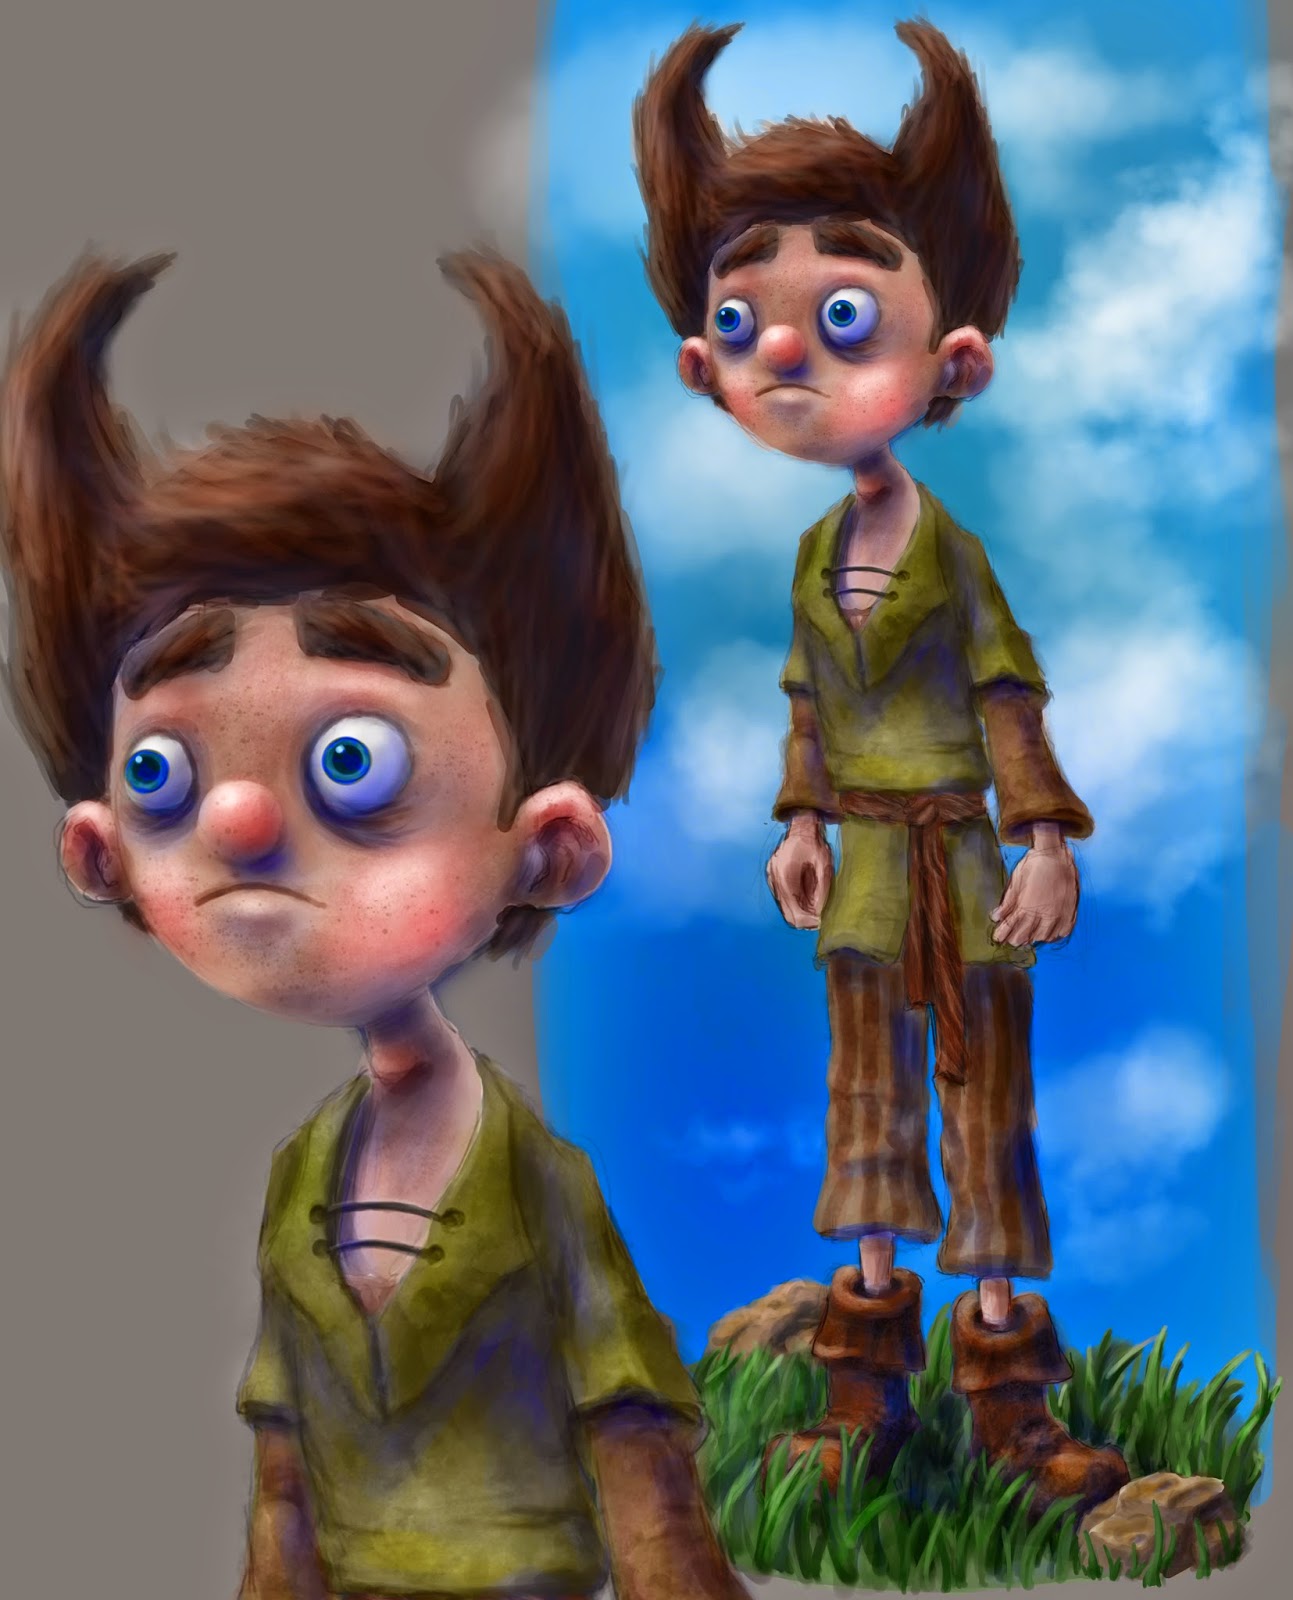
Fantasy game protagonist- Boy


Here is the protagonist for the fantasy game project.  It was based on the concept art of one of my group members. i started off with dynamesh Zbrush as I feel more comfortable going from high poly to low poly workflow. I forgot about belt straps, but i think it still looks good.  To improve it I could look more at the concept art and make it look more alike. In this one I did use the concept art as a reference, but later on I just left it behind; I think the character still looks quite similar to the concept


Concept Art done by Alex P.


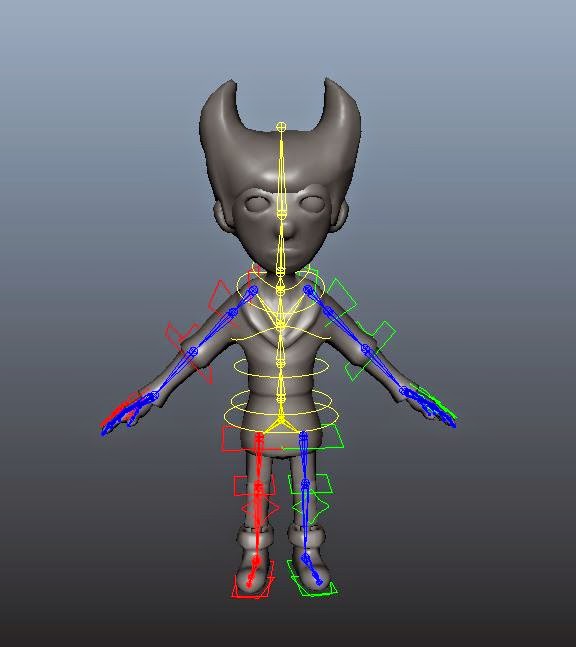
Here I began the retopology in Maya.  Retopology is always my least favourite part of the process (and of course Uvs). I tried to make the loops go around the arms and facial muscles. However I made a mistake and made the arm loops too far away from the shoulders, causing a visible seams later on. After making the Uvs I proceed with making the rig.  Following a tutorial (as it was my first time) everything was going pretty well but when I mirrored the control curves I encountered some issues; the orientation of the curves was facing a wrong direction and I couldnt fix it. After a long time of struggle, i found out there's a premade rig inside Maya, It DID hurt to find this out after such a long time. 

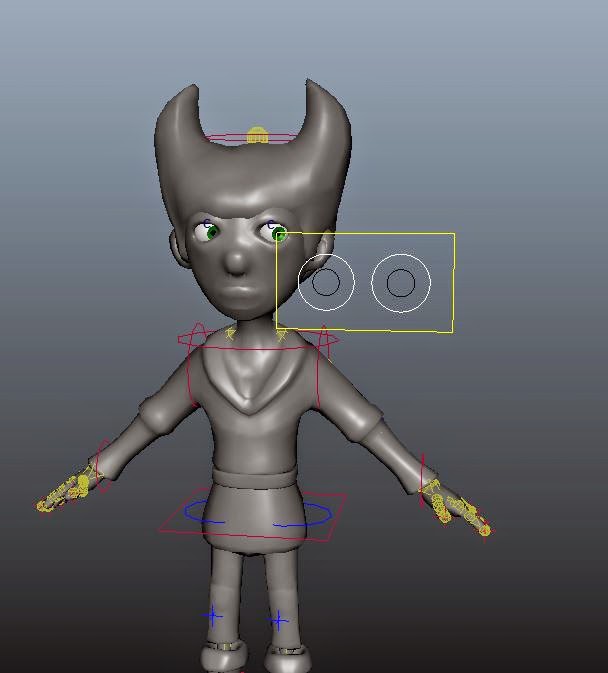
After rigging the character and painting skin weights, i had a go at making the eyes control curves. It did work, but after importing the model into the engine, the eyes dissapeared. So I removed the control curves. Now I think the issue was in parenting the eyes to the rest of the model, instead of smooth binding them. 
One issue I encountered was wrong thumb bone placement. It somehow got misplaced and I didn't notice until the character was animated and put into the game. every animation inside the engine causes the thumb to look broken, which isn't good. To avoid It I could be more careful and check each bone for correct placement.


Attempt at rigging


Attempt at eye rig

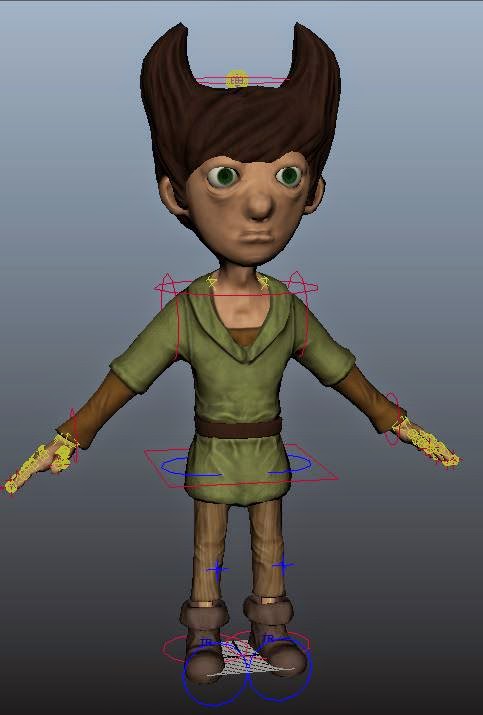
Final model


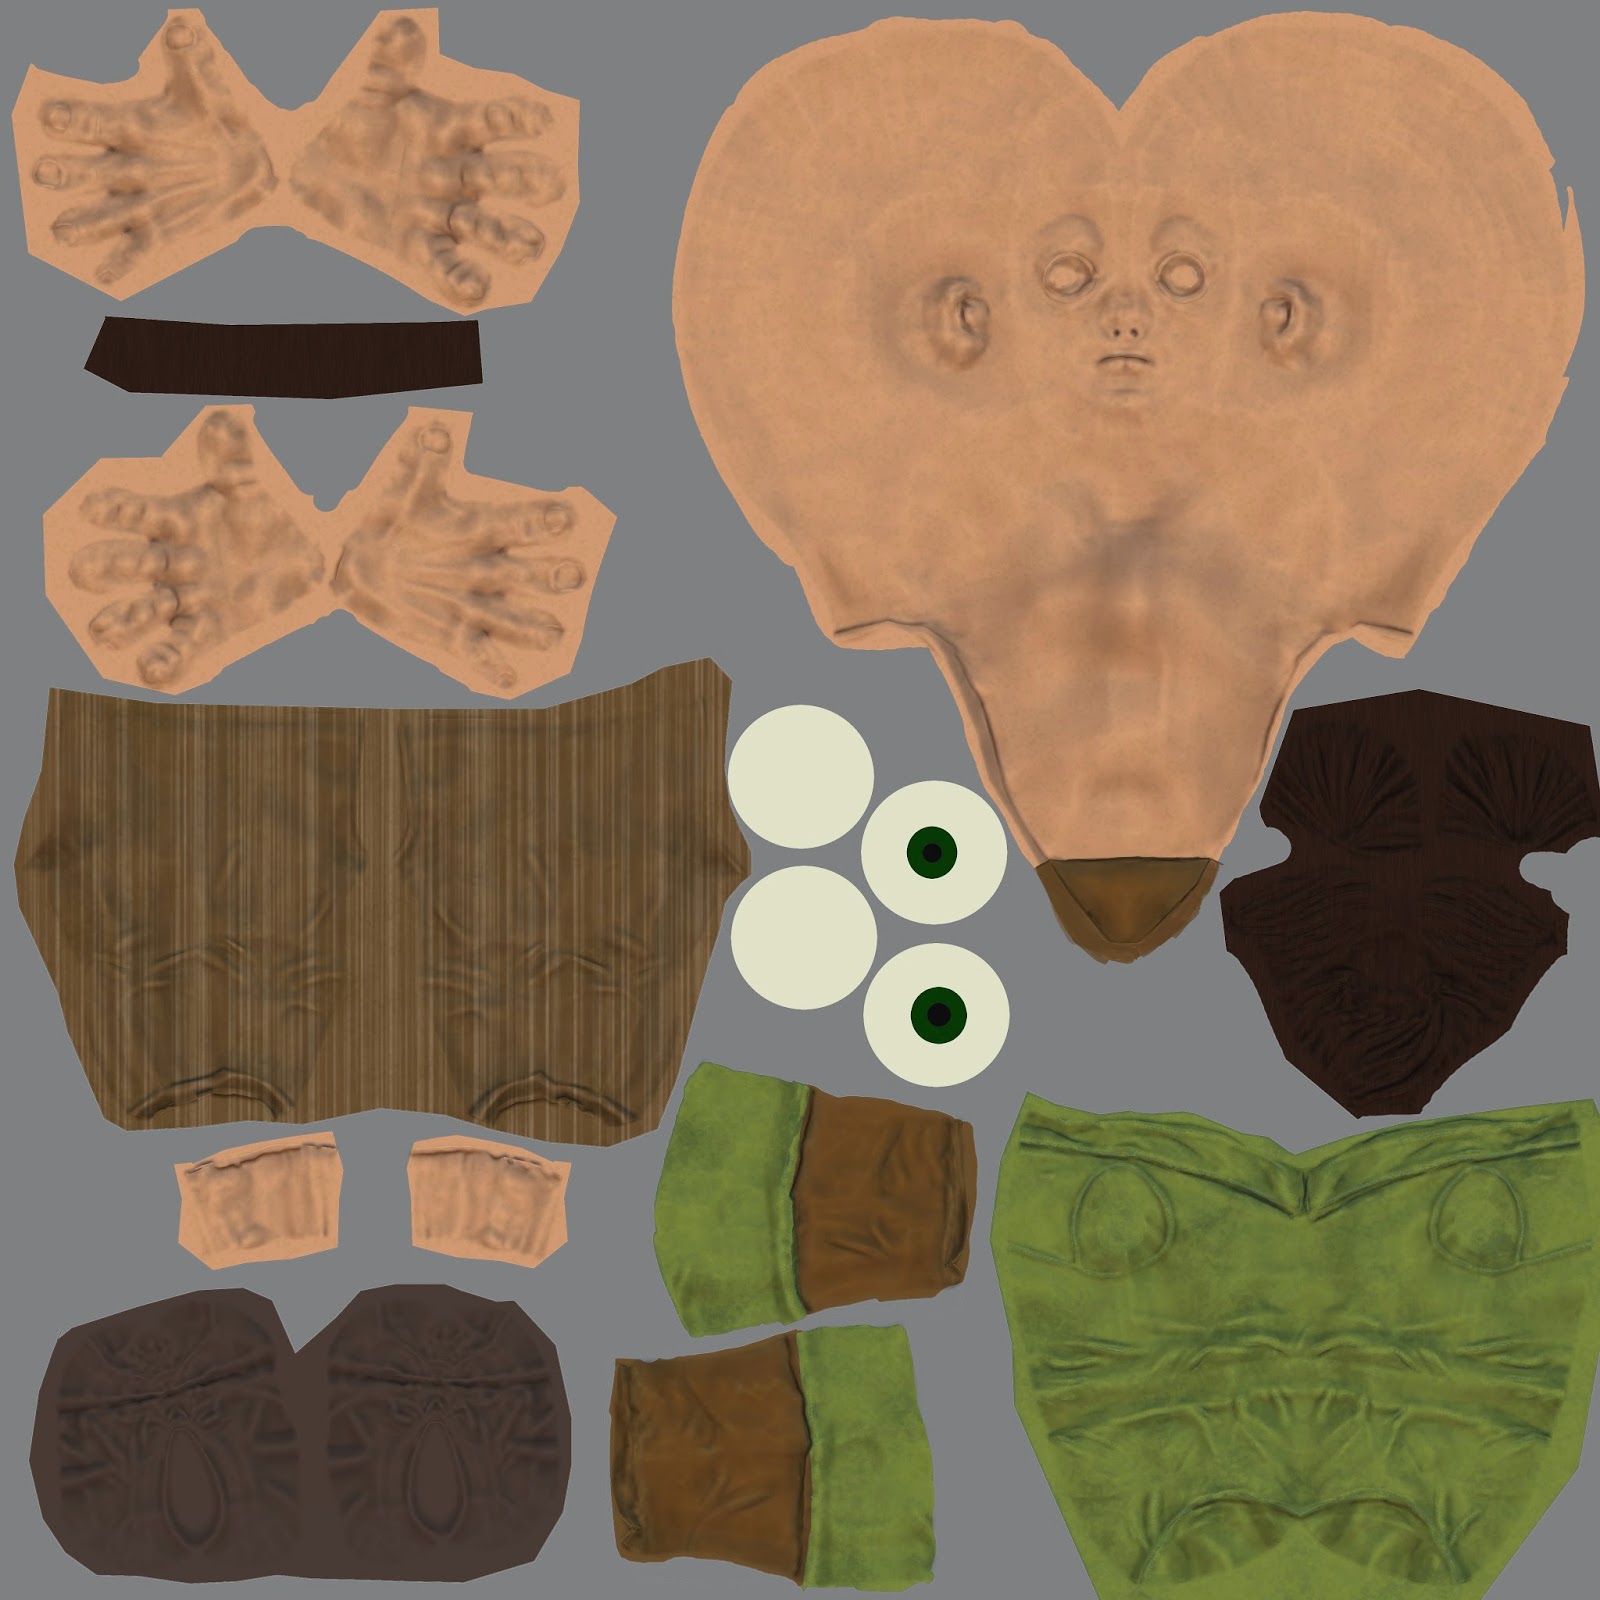
The diffuse map was made inside DDo with Ambient occlusion on top of it; first I started off with a basic color scheme, there I let DDO take me through it's process. However Normal maps were done inside Maya separately, then put together inside photoshop. I did it this way because I made a huge mistake of re positioning the model (low poly) before baking the maps etc. and later on it was hard to align the low poly and high poly models.


Pre DDO 


After DDO

Lamp


Here is a medieval(ish) lamp i did for the fantasy game. I wanted some sort of a light coming out of it so first I tried making the glass transparent with alpha channel, however this didnt work too well. So instead I made it self illuminate using the alpha channel. Adding a spotlight to it it turned out pretty well, i really like the effect.
The maps were done in DDO and NDO. Really fun to use (can be tricky). Just a simple diff and NM. To improve on it I could work on the NM a bit more, adding scratches etc. Perhaps make several NM to create a variation


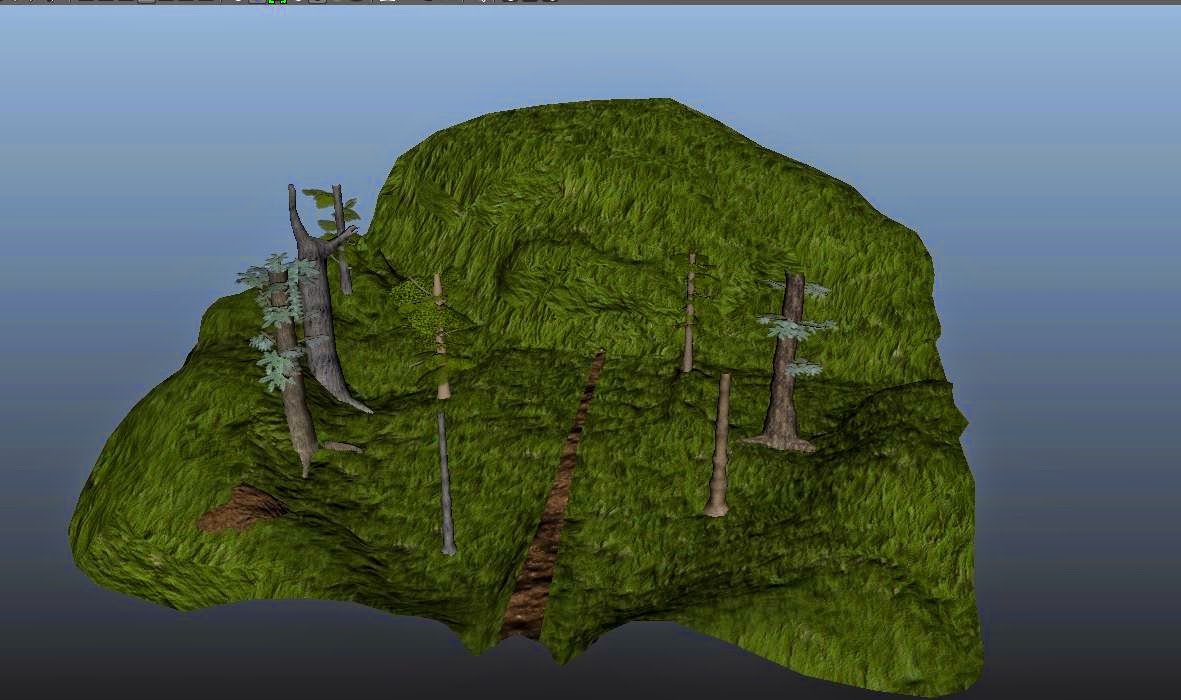
Trees

 Here are some trees I made for the forrest, then placed prefabs inside the unity. I made the trees with the traditional method (leafs with alpha channel on). In photoshop i painted three different layers of leafs, different green values to give it more variation. Then I placed the exported png file inside the diffuse channel, that automatically created the transparent channel. To improve on it I could make it look a bit more realistic and natural. Add more leaf planes here and there


Thursday, April 9, 2015

Fantasy game project- Cave level

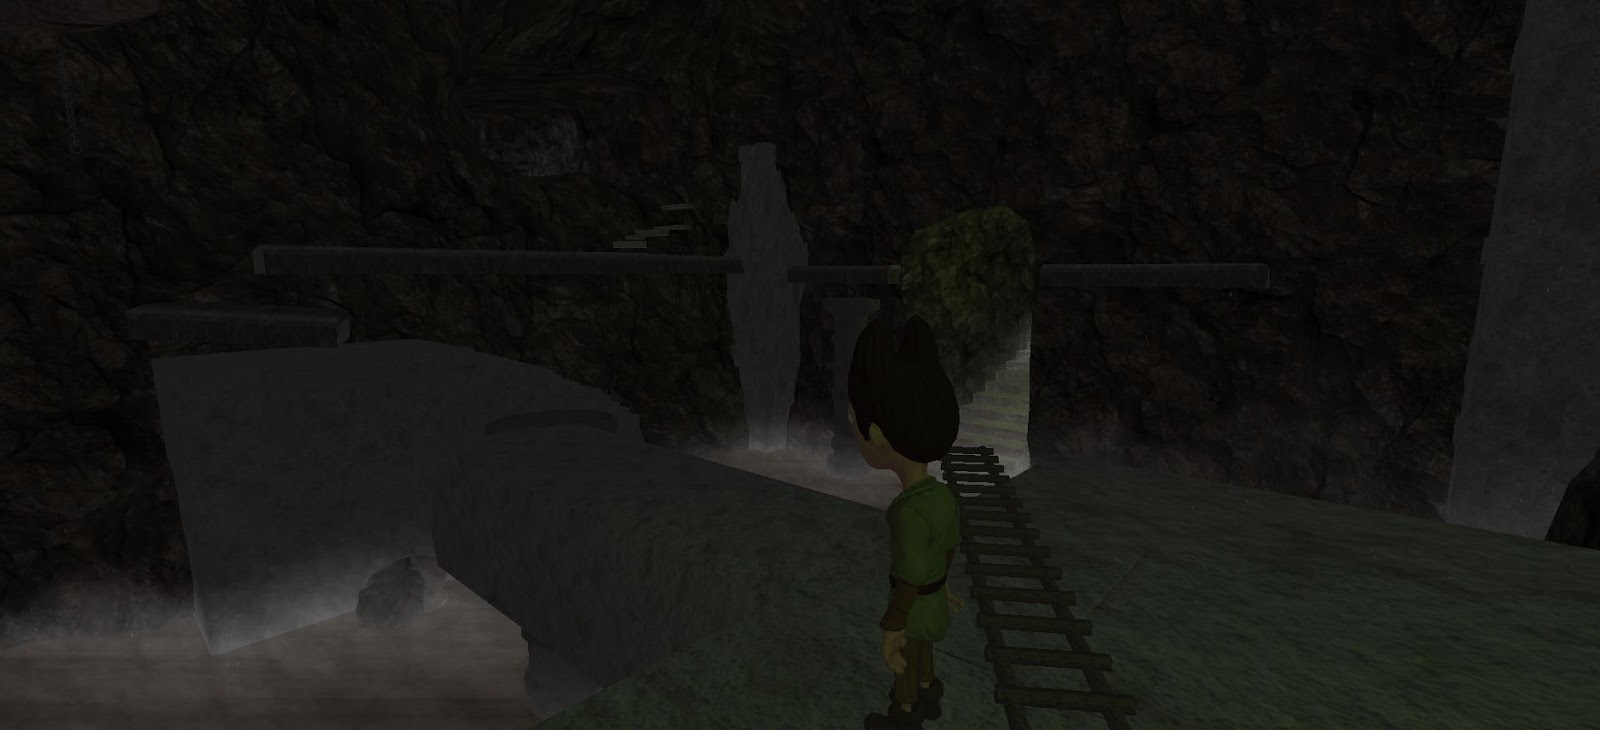
This is one of the levels for our Fantasy game "vertical slice". As this is Unity 4 it doesn't look as great as current generation.  The lighting isn't baked yet, or set properly. I redesigned this level three times as I didn't like the layout; the space was too tight and linear (even more than it is now)


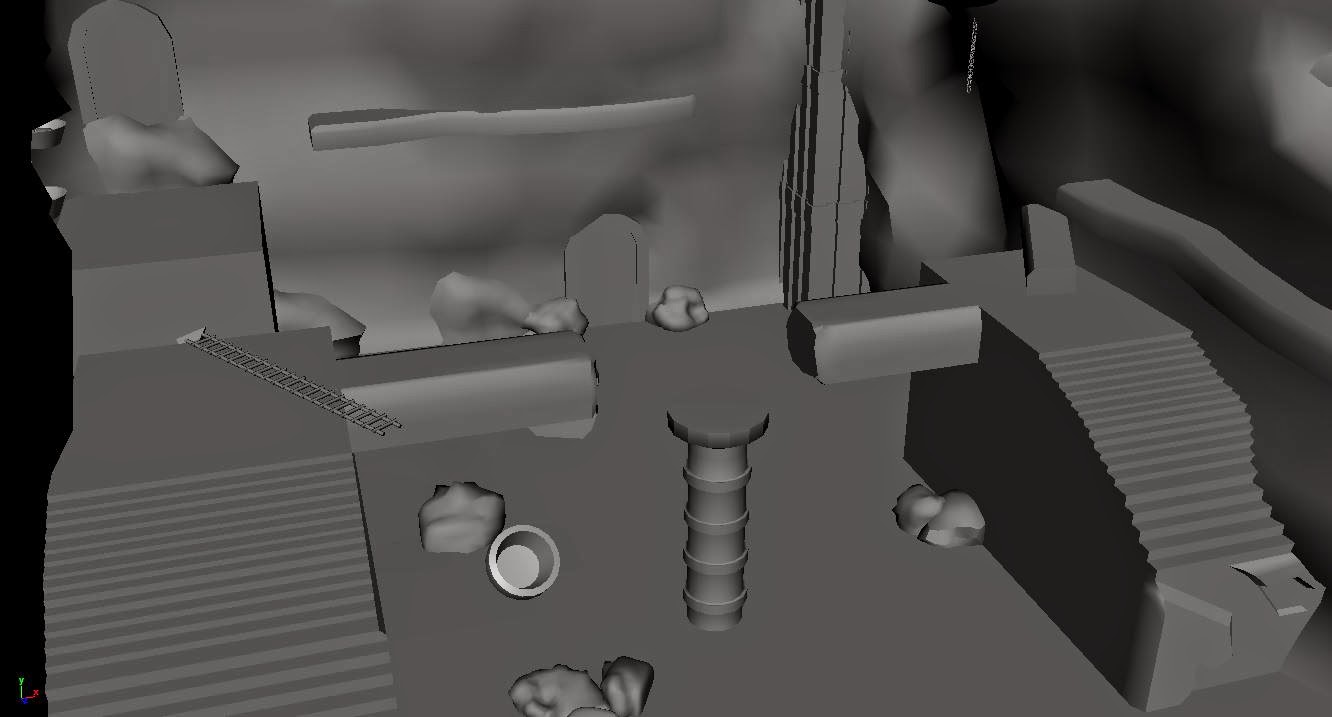
Here is a maya preview with textures off.
 The idea was to make a jumping puzzle


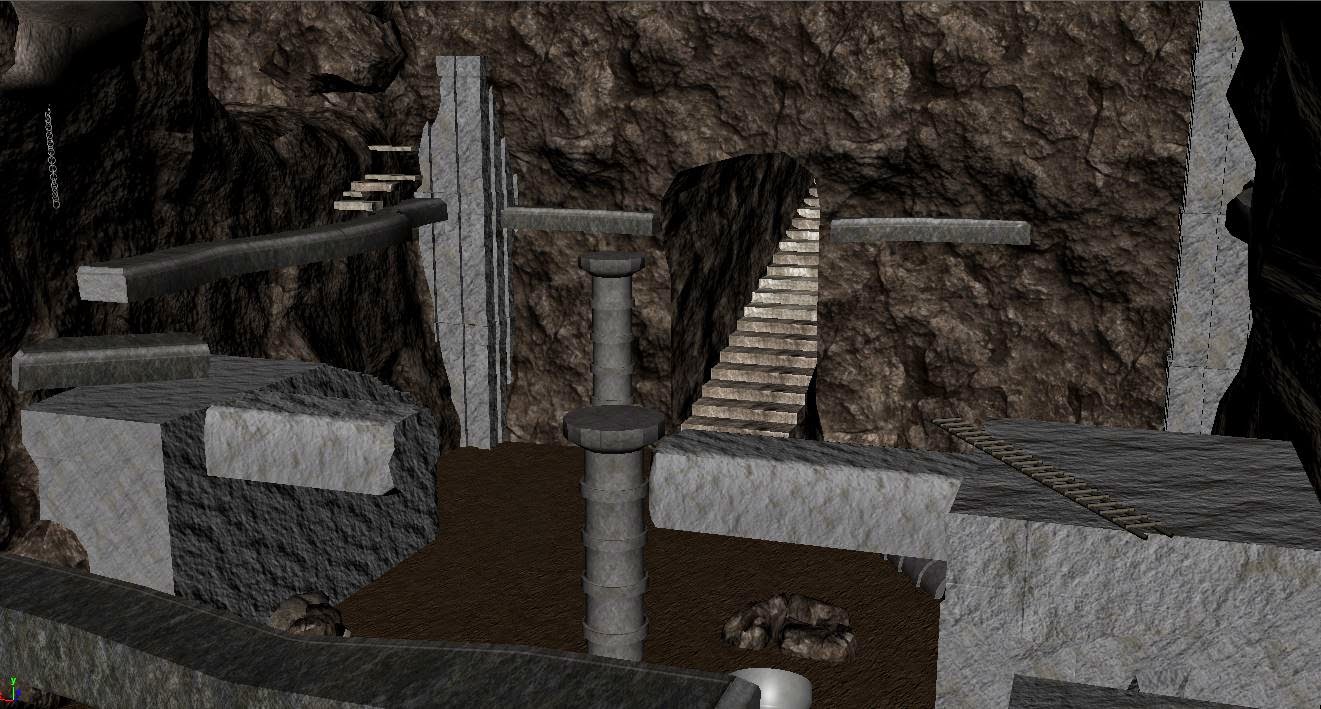
Textured


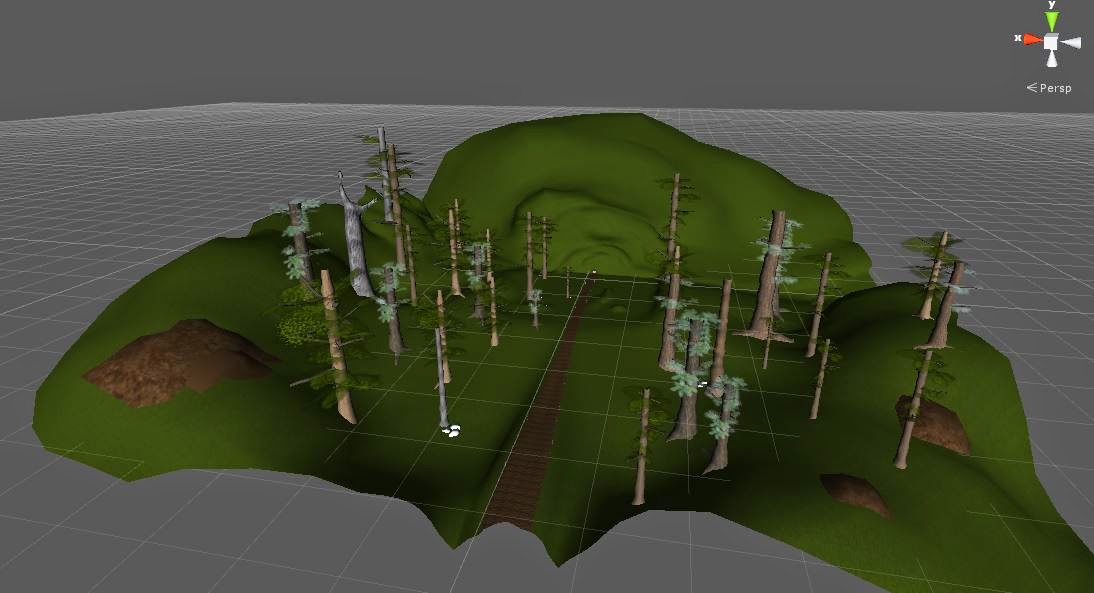
Ourside look of the level.
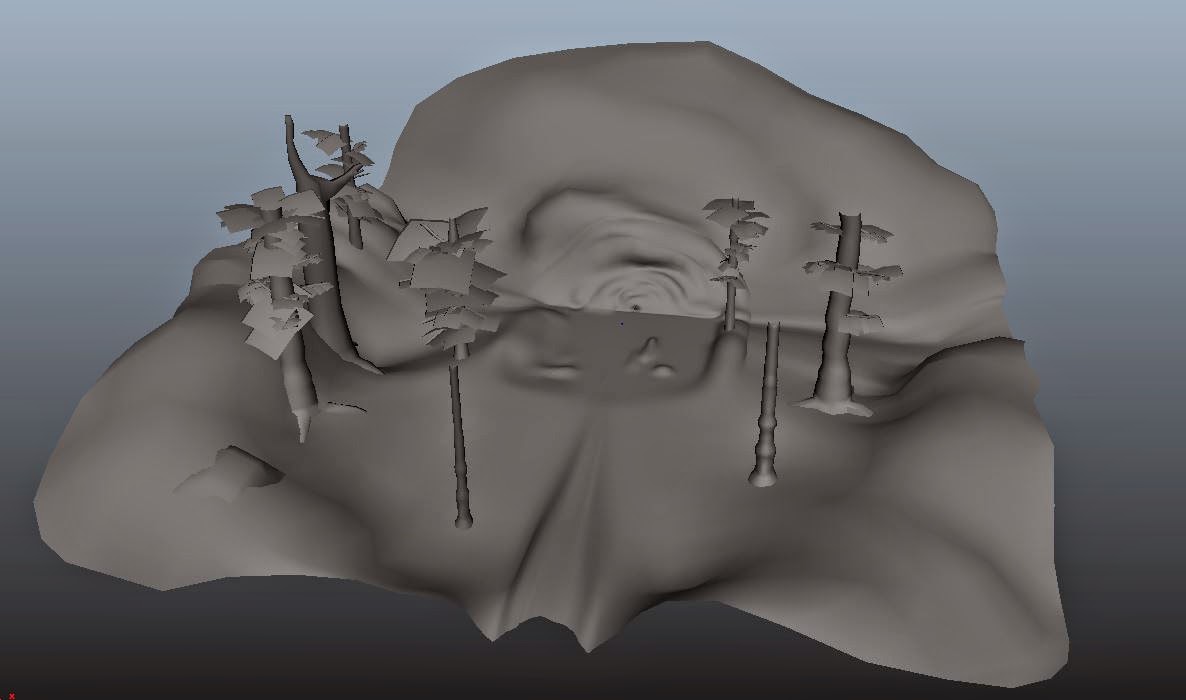
It's a cave entrance inside a forrest (more trees placed inside unity
Unity 4 preview
Ingame look!


everything is fairly low poly, but still looks pretty good and fits the game style. I started off with the cave entrance, bringing the terrain afterwards. The terrain was kind of tricky to make because of the scale. Later on I've noticed I can't add the grass; adding the grass using the paint effects would take too much memory, and I cant do it inside Unity 4.

The cave and the tunnels are just deformed (maya sculpt tools) cubes with tileable textures on. Everything else is just a standard modeling